Java connect to MySQL database with JDBC
- Details
- Written by Nam Ha Minh
- Last Updated on 07 March 2020 | Print Email
1. Download JDBC driver for MySQL
2. No need to load MySQL driver class explicitly
3. Understand the getConnection() method of DriverManager class
4. Java code example connects to MySQL database
1. Download JDBC driver for MySQL
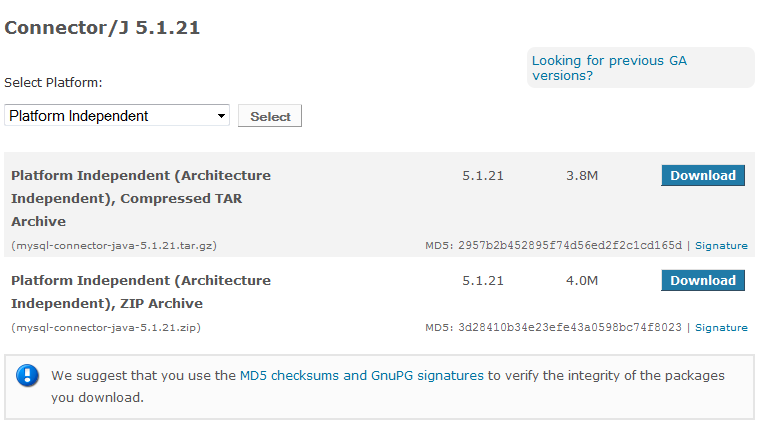
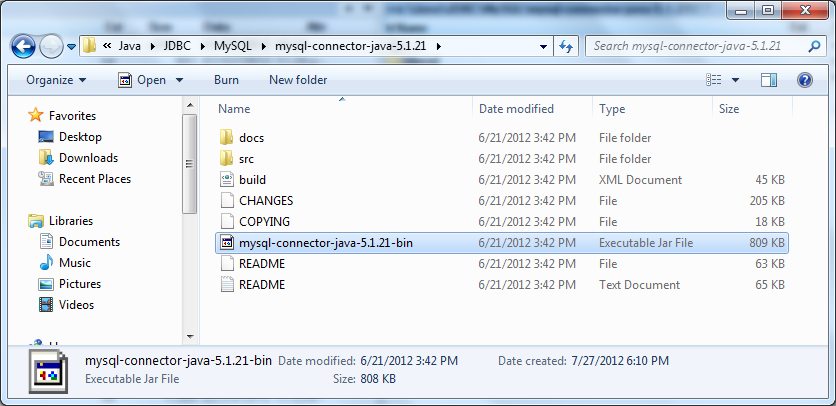
First, in order to have Java program working with MySQL, we need a JDBC driver for MySQL. Browse this URL:http://dev.mysql.com/downloads/connector/j/to download the latest version of the JDBC driver for MySQL called Connector/J. MySQL Connector/J comes into 2 major versions: 5.1 and 8.0. The latest version 8.0 supports JDBC 4.2 and JDK 8 or higher. Click the Download button next to Platform Independent (Architecture Independent), ZIP Archive to download a zip archive. Extract the ZIP file to a desired location on your computer.
<dependency>
	<groupId>mysql</groupId>
	<artifactId>mysql-connector-java</artifactId>
	<version>8.0.19</version>
</dependency>
2. No need to load MySQL driver class explicitly
The Connector/J version 8.0 library comes with a JDBC driver class: com.mysql.cj.jdbc.Driver. Before Java 6, we have to load the driver explicitly by this statement:Class.forName("com.mysql.cj.jdbc.Driver");
However that statement is no longer needed, thanks to new update in JDBC 4.0 comes from Java 6. As long as you put the MySQL JDBC driver JAR file file into your program’s classpath, the driver manager can find and load the driver.3. Understand the getConnection() method of DriverManager class
It’s quite easy to make a connection to a database server in general, as well as to a MySQL server in particular. Just using the method getConnection()of the class DriverManager which is available in the package java.sql.There are three different signatures of the method getConnection()which we can use:- static Connection getConnection(String url)
- static Connection getConnection(String url, Properties info)
- static Connection getConnection(String url, String user, String password)
- host: host name or IP address of the MySQL server.
- port: port number of the server, default is 3306.
- database: name of the database on the server.
- propertyName1=propertyValue1: a key=value pair for an additional property which will be sent to the server. For example, to send a username and password, write: ?user=root&password=secret
4. Java code example connect to MySQL database
The following example program makes three connections to three MySQL database in three different ways:import java.sql.Connection;
import java.sql.DriverManager;
import java.sql.SQLException;
import java.util.Properties;
public class MySQLConnectExample {
public static void main(String[] args) {
// creates three different Connection objects
Connection conn1 = null;
Connection conn2 = null;
Connection conn3 = null;
try {
// connect way #1
String url1 = "jdbc:mysql://localhost:3306/test1";
String user = "root";
String password = "secret";
conn1 = DriverManager.getConnection(url1, user, password);
if (conn1 != null) {
System.out.println("Connected to the database test1");
}
// connect way #2
String url2 = "jdbc:mysql://localhost:3306/test2?user=root&password=secret";
conn2 = DriverManager.getConnection(url2);
if (conn2 != null) {
System.out.println("Connected to the database test2");
}
// connect way #3
String url3 = "jdbc:mysql://localhost:3306/test3";
Properties info = new Properties();
info.put("user", "root");
info.put("password", "secret");
conn3 = DriverManager.getConnection(url3, info);
if (conn3 != null) {
System.out.println("Connected to the database test3");
}
} catch (SQLException ex) {
System.out.println("An error occurred. Maybe user/password is invalid");
ex.printStackTrace();
}
}
} NOTES: You should close the database connection in the finally clause like this:finally {
if (conn != null) {
try {
conn.close();
} catch (SQLException ex) {
ex.printStackTrace();
}
}
}And since Java 1.7, you can use the try-with-resource syntax that closes the connection automatically, for example:try (Connection conn = DriverManager.getConnection(url, user, password)) {
if (conn != null) {
System.out.println("Connected to the database");
}
} catch (SQLException ex) {
System.out.println("An error occurred. Maybe user/password is invalid");
ex.printStackTrace();
} Type the following command to compile the example program:javac MySQLConnectExample.java
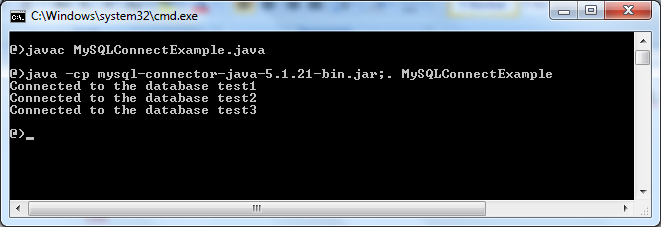
Suppose the Connect/J library is placed in the same directory as the MySQLConnectExample.java file. Type the following command to run:java -cp mysql-connector-java-5.1.21-bin.jar;. MySQLConnectExample
And here is the result when running the example program:

That means the program has successfully connected to the MySQL database server.
For visual howto, watch this video:
JDBC API References:
Related JDBC Tutorials:
- JDBC CRUD Tutorial
- JDBC Transaction Tutorial
- How to Read Database Meta Data in JDBC
- How to call stored procedure with JDBC
About the Author:
 Nam Ha Minh is certified Java programmer (SCJP and SCWCD). He began programming with Java back in the days of Java 1.4 and has been passionate about it ever since. You can connect with him on Facebook and watch his Java videos on YouTube.
Comments
.....phpmyadmin/config.inc
I found a good reference for you here: techrepublic.com/.../...